

What is ankle instability?
Many people and especially athletes suffer from ankle instability. This instability is often caused by recurring spraining of the ankle, so that the ankle ligaments are stretched or torn and the healing process is lengthy and slow.
Approximately 30% of people still suffer from an unstable feeling one year after tearing the ankle ligament. Ankle instability can be accompanied by swelling and gives a feeling of insecurity during walking and exercising. In addition to swelling, stiffness is a complaint that accompanies weak ankles.
Sports tape during exercise
There are athletes who like to “stabilise” the ankles with the familiar white, non-elastic sports tape while exercising. Movement is almost impossible. This gives the athlete a certain feeling. After exercising, this tape must be removed again.
Within the Kinesiology Taping Concept we have a single- tape application that is very suitable for both ankle instability and preventive during exercise. The advantage of this taping application is that the tape remains on the ankle for a few days and that showering is no problem. CureTape kinesiology tape can also provide pain relief, moisture transport and function improvement.
Get started with these items to tape for ankle stability
-
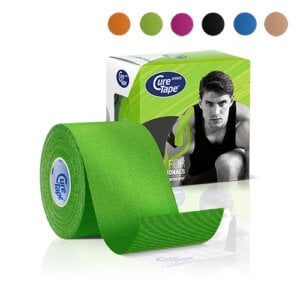
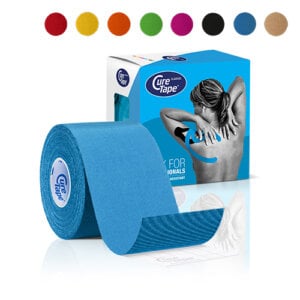
CureTape® Sports Extra Sticky Kinesiology Tape
 $12.95
In stockSelect options This product has multiple variants. The options may be chosen on the product page
$12.95
In stockSelect options This product has multiple variants. The options may be chosen on the product page -
CureTape® Classic 2″ kinesiology tape
 $12.95
In stockSelect options This product has multiple variants. The options may be chosen on the product page
$12.95
In stockSelect options This product has multiple variants. The options may be chosen on the product page -
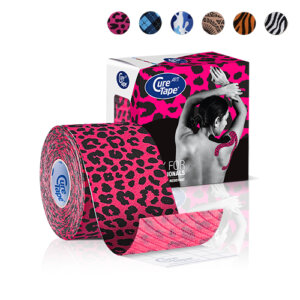
CureTape® Art kinesiology tape 2″
 $13.95
In stockSelect options This product has multiple variants. The options may be chosen on the product page
$13.95
In stockSelect options This product has multiple variants. The options may be chosen on the product page -
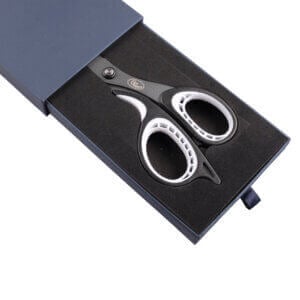
CureTape® High Quality Scissor
 $20.00
Out of stockRead more
$20.00
Out of stockRead more

Christina’s advice when taping your arm
When taping your ankle, it’s crucial to choose a tape that provides strong adhesion and support. That’s why I recommend CureTape kinesiology tape. For regular use, CureTape Classic or Art is ideal. However, if you’re engaging in extreme sports or swimming, opt for the extra sticky CureTape Sports variant!
How to tape ankle video
Tips for Effective Ankle Taping:
- Make sure you understand what’s causing the pain or discomfort
- Check if there are any reasons why taping might not be a good idea.
- Before you start, read the instructions carefully.
- Choose a tape colour or print that suits your style!
- Round of all the edges to prevent peeling.
- Avoid stretching the tape at the beginning and end.
- Rub the tape firmly for better adhesion; warmth helps activate the adhesive.
- You can shower or swim with the tape on; just pat it dry gently afterward, avoiding vigorous rubbing.
- To remove the tape easily, use body or massage oil.
How to tape ankle for stability
Within the Kinesiology Taping Concept we have a single- tape application that is very suitable for both ankle instability and preventive during exercise. The advantage of this taping application is that the tape remains on the ankle for a few days and that showering is no problem. CureTape kinesiology tape can also provide pain relief, moisture transport and function improvement.
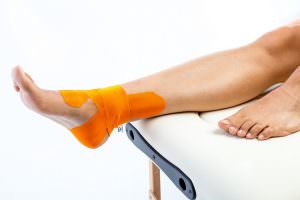
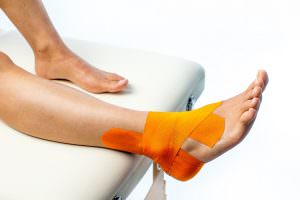
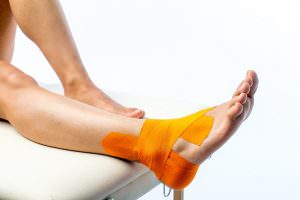
If the ankle joint is unstable, a tape can be applied that gives a supporting effect and also stimulates the proprioception of the joint. The joint receives a signal via the nerve pathways to prevent spraining. The tape feels like a second skin and is not perceived as disturbing.
The tape application has the shape of an 8 and, depending on which form of instability it is, can be applied for support starting from medial or lateral.
In the case of a medial sprain, we recommend applying the 8 tape as described below. Pay attention to the fact that CureTape® is applied without stretching at the start and end, but with maximum stretch in the area of the ligamentous structures of the ankle.
- Place the end of the tape over the lateral malleolus.
- Then let the tape run in a caudal direction, under the foot (heel).
- The tape then runs up, over the medial malleolus to the front of the foot.
- Let the tape run backwards over the medial malleolus by going to the dorsum of the foot towards the outside and in the region of metatarsal.
Instructions for self taping (non-professionals)
- Place the end of the tape on the outer ankle bone.
- Wrap the tape downwards under your foot, around the heel.
- Bring the tape up over the inner ankle bone to the front of your foot.
- Continue wrapping the tape back over the inner ankle bone, across the top of your foot towards the outer side, ending near the base of your toes.
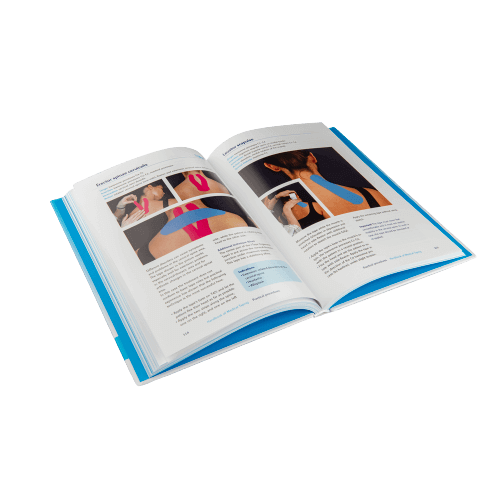
Learn how to tape
- The Ultimate Taping Guide: Focuses on self-taping for the 30 most common injuries where taping provides support.
- Kinesiology Taping Method Manual: Designed for (para medical) professionals, covering basic taping techniques and various pathologies.
What are you waiting for? Order a copy today!
THYSOL is the manufacturer of the kinesiology tape brand CureTape. As CureTape, we have been training and supplying professionals for 25 years. And consumers now know how to find us too! By manufacturing all our tapes in our own factory, we can guarantee the best quality!
Please note that the indicated tape applications and information on our website about the possibilities with kinesiology tape have not yet been scientifically proven. The statements and examples mentioned are based on long-term experiences of patients and trained therapists.
Contraindications not to tape: pregnancy, open wounds, broken bones, unexplained complaints, allergies and skin diseases, use of medication such as blood thinners, thrombosis and fever. Always apply tape in consultation with a specialist.