


Taping is an effective method for addressing shoulder complaints. Want to learn how to do it yourself? Keep reading this page for all the details!
The deltoid muscle, located in the shoulder, plays a crucial role in providing support and shaping the outer contours of the shoulder. It facilitates arm movements in various directions, allowing you to lift and maneuver your arms freely. However, discomfort often arises in the middle part of this muscle. If you’re experiencing issues in the upper arm and shoulder joint area, applying the following taping technique can provide relaxation and pain relief.
Get started with these items to tape your shoulder
-

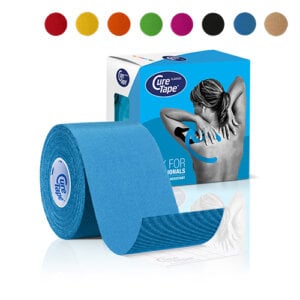
CureTape® Classic 2″ kinesiology tape
$12.95In stockSelect options This product has multiple variants. The options may be chosen on the product page -
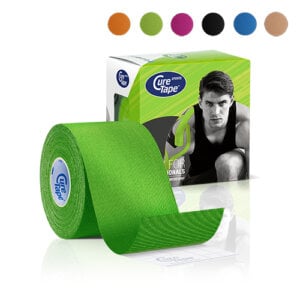
CureTape® Sports Extra Sticky Kinesiology Tape
$12.95In stockSelect options This product has multiple variants. The options may be chosen on the product page -
Bestseller
CureTape® Art – 3 Rolls Kinesiology Tape
$18.95In stockSelect options This product has multiple variants. The options may be chosen on the product page


Expert tip
Christina’s advice for taping your shoulder
“When taping your shoulder, it’s crucial to choose a tape that provides strong adhesion and support. That’s why I recommend CureTape kinesiology tape. For regular use, CureTape Classic or Art is ideal. However, if you’re engaging in extreme sports or swimming, opt for the extra sticky CureTape Sports variant!”
Christina Peter · Sports Physical Therapist and Tape Instructor for CureTape since 2003
How to tape your shoulder
Tips for effective shoulder taping
- Make sure you understand what’s causing the pain or discomfort.
- Check if there are any reasons why taping might not be a good idea.
- Before you start, read the instructions carefully.
- Choose a tape color or print that suits your style!
- Round off all the edges to prevent peeling.
- Avoid stretching the tape at the beginning and end.
- Rub the tape firmly for better adhesion; warmth helps activate the adhesive.
- You can shower or swim with the tape on; just pat it dry gently afterward, avoiding vigorous rubbing.
- To remove the tape easily, use body oil or massage oil.
Preparation for taping your shoulder
Tape
- Shape: I-tape
- Number of strips: 3
- Technique: Muscle technique (slight pull)
Measuring and cutting the tape
Step 1:
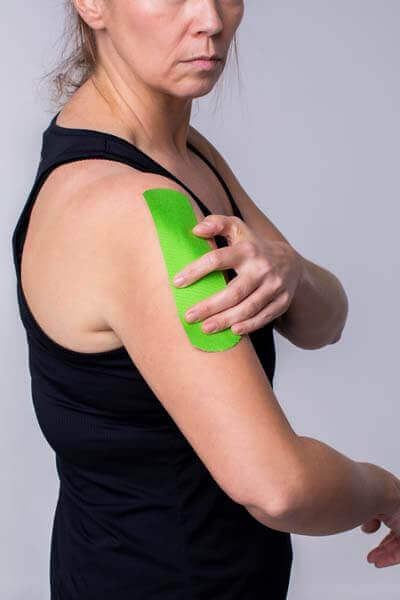
- Stand in front of a mirror and measure the length of the tape strips needed from the center of the upper arm to the head of the shoulder.
- Cut three I-tapes of equal length.
Applying the tape to your shoulder
Step 1:
Step 2:
Step 3:
Step 4:
Step 5:
Step 6:
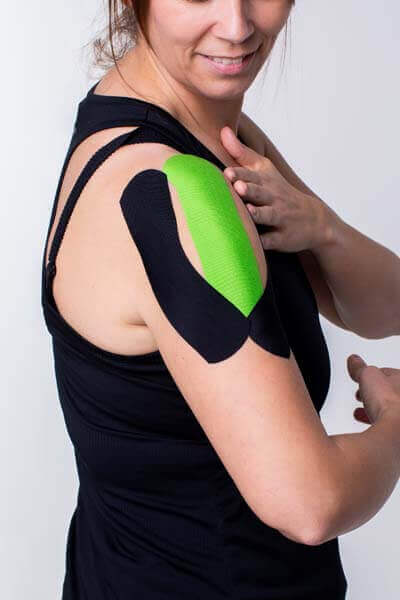
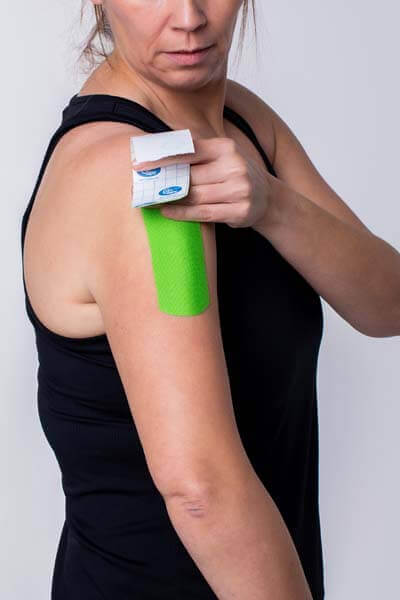
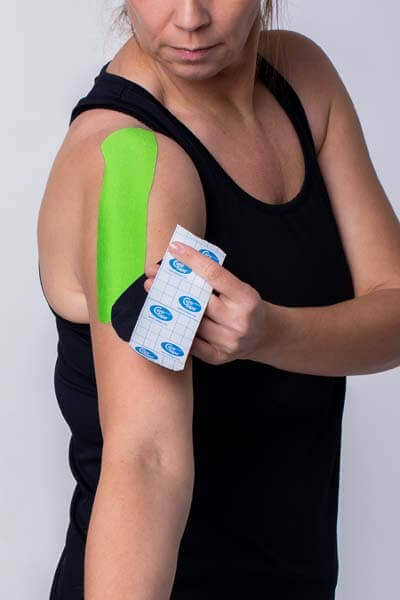
- Start with the middle tape. Without stretching, place the base under the muscle in the middle of the upper arm. Let the arm hang down and apply the tape with a slight stretch toward the head of the shoulder. Attach the anchor to the shoulder.
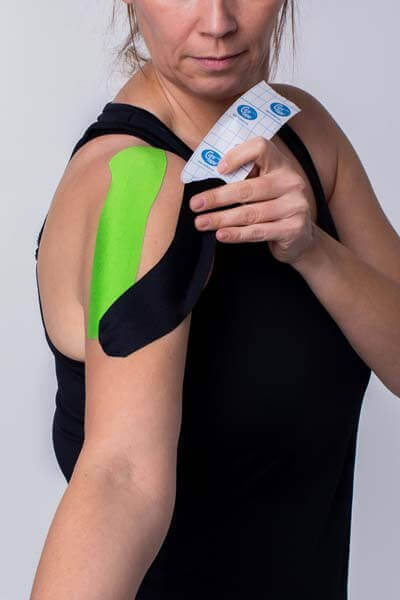
- Lightly tape the base of the second tape without stretching next to the first tape. Stretch your arm slightly backward and guide the tape with a slight stretch around the front of the shoulder muscle, fixing the anchor at the top of the shoulder.
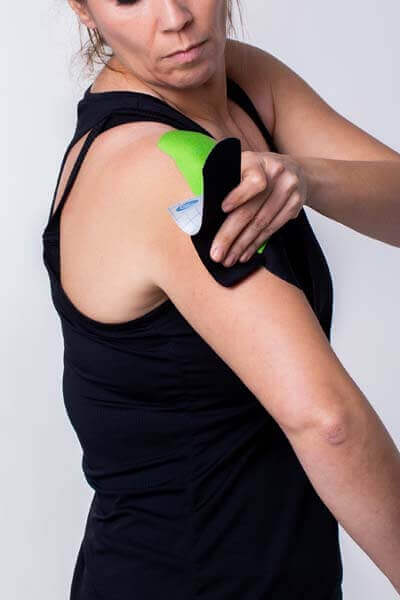
- Finally, place the base of the third tape slightly offset next to the other two tapes. Move the arm slightly forward and guide the tape with a slight stretch over the back of the shoulder muscle, fixing the anchor at the top of the shoulder.
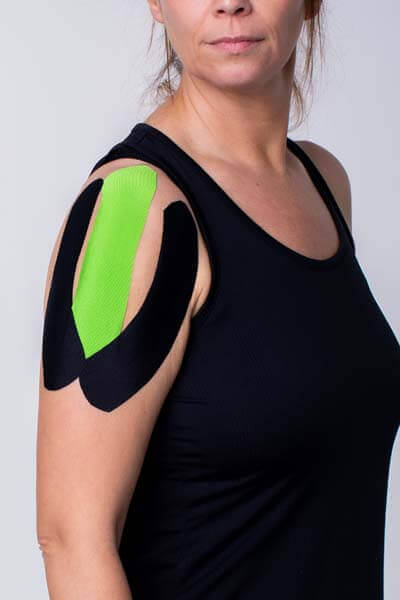
- Rub all three tapes well to activate the adhesive layer.
If the illustrated application technique does not relieve the pain, apply the tape in exactly the opposite direction. In the case of painful shoulders, the deltoid is often not injured but simply too weak. Place the base of each of the three tapes at the level of the shoulder head and let the tapes run from top to bottom until the middle of the upper arm. Now you will clearly feel how the shoulder head is pressed toward the socket, and the arm can be lifted more easily. This tape has an activating function, in contrast to the previously described technique, which has a relaxing effect.
Learn how to tape
Want to learn how to apply tape yourself*? We have created the ultimate guide for that! This helpful guide contains:
- 30 taping instructions for common injuries that taping can help with
- 176 pages of clear written instructions
- 200 step-by-step instructions with photos, illustrations, and videos you can scan with QR codes
What are you waiting for? Order your copy today!
*This book is intended for people who want to tape an injury or complaint themselves. If you are unsure about the cause of your complaint, consult a physical therapist.



Who are we?
THYSOL is the manufacturer of the kinesiology tape brand CureTape. As CureTape, we have been training and supplying professionals for almost 25 years. And consumers now know how to find us too! Because we manufacture all our tapes in our own factory, we can guarantee the best quality!
Disclaimer
Please note that the tape applications and information on our website about the possibilities of kinesiology tape have not yet been scientifically proven. The statements and examples are based on the long-term experience of patients and trained therapists.
Do not tape in case of: pregnancy, open wounds, broken bones, unexplained complaints, allergies and skin conditions, use of medication such as blood thinners, thrombosis, or fever. Always apply tape in consultation with a specialist.