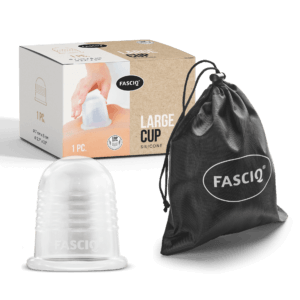
Description
As we transition to updated packaging, you may still receive your Silicone Cupping Set in the previous packaging without the beige box. The product itself remains exactly the same.
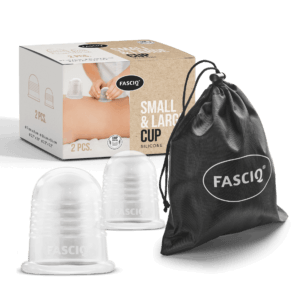
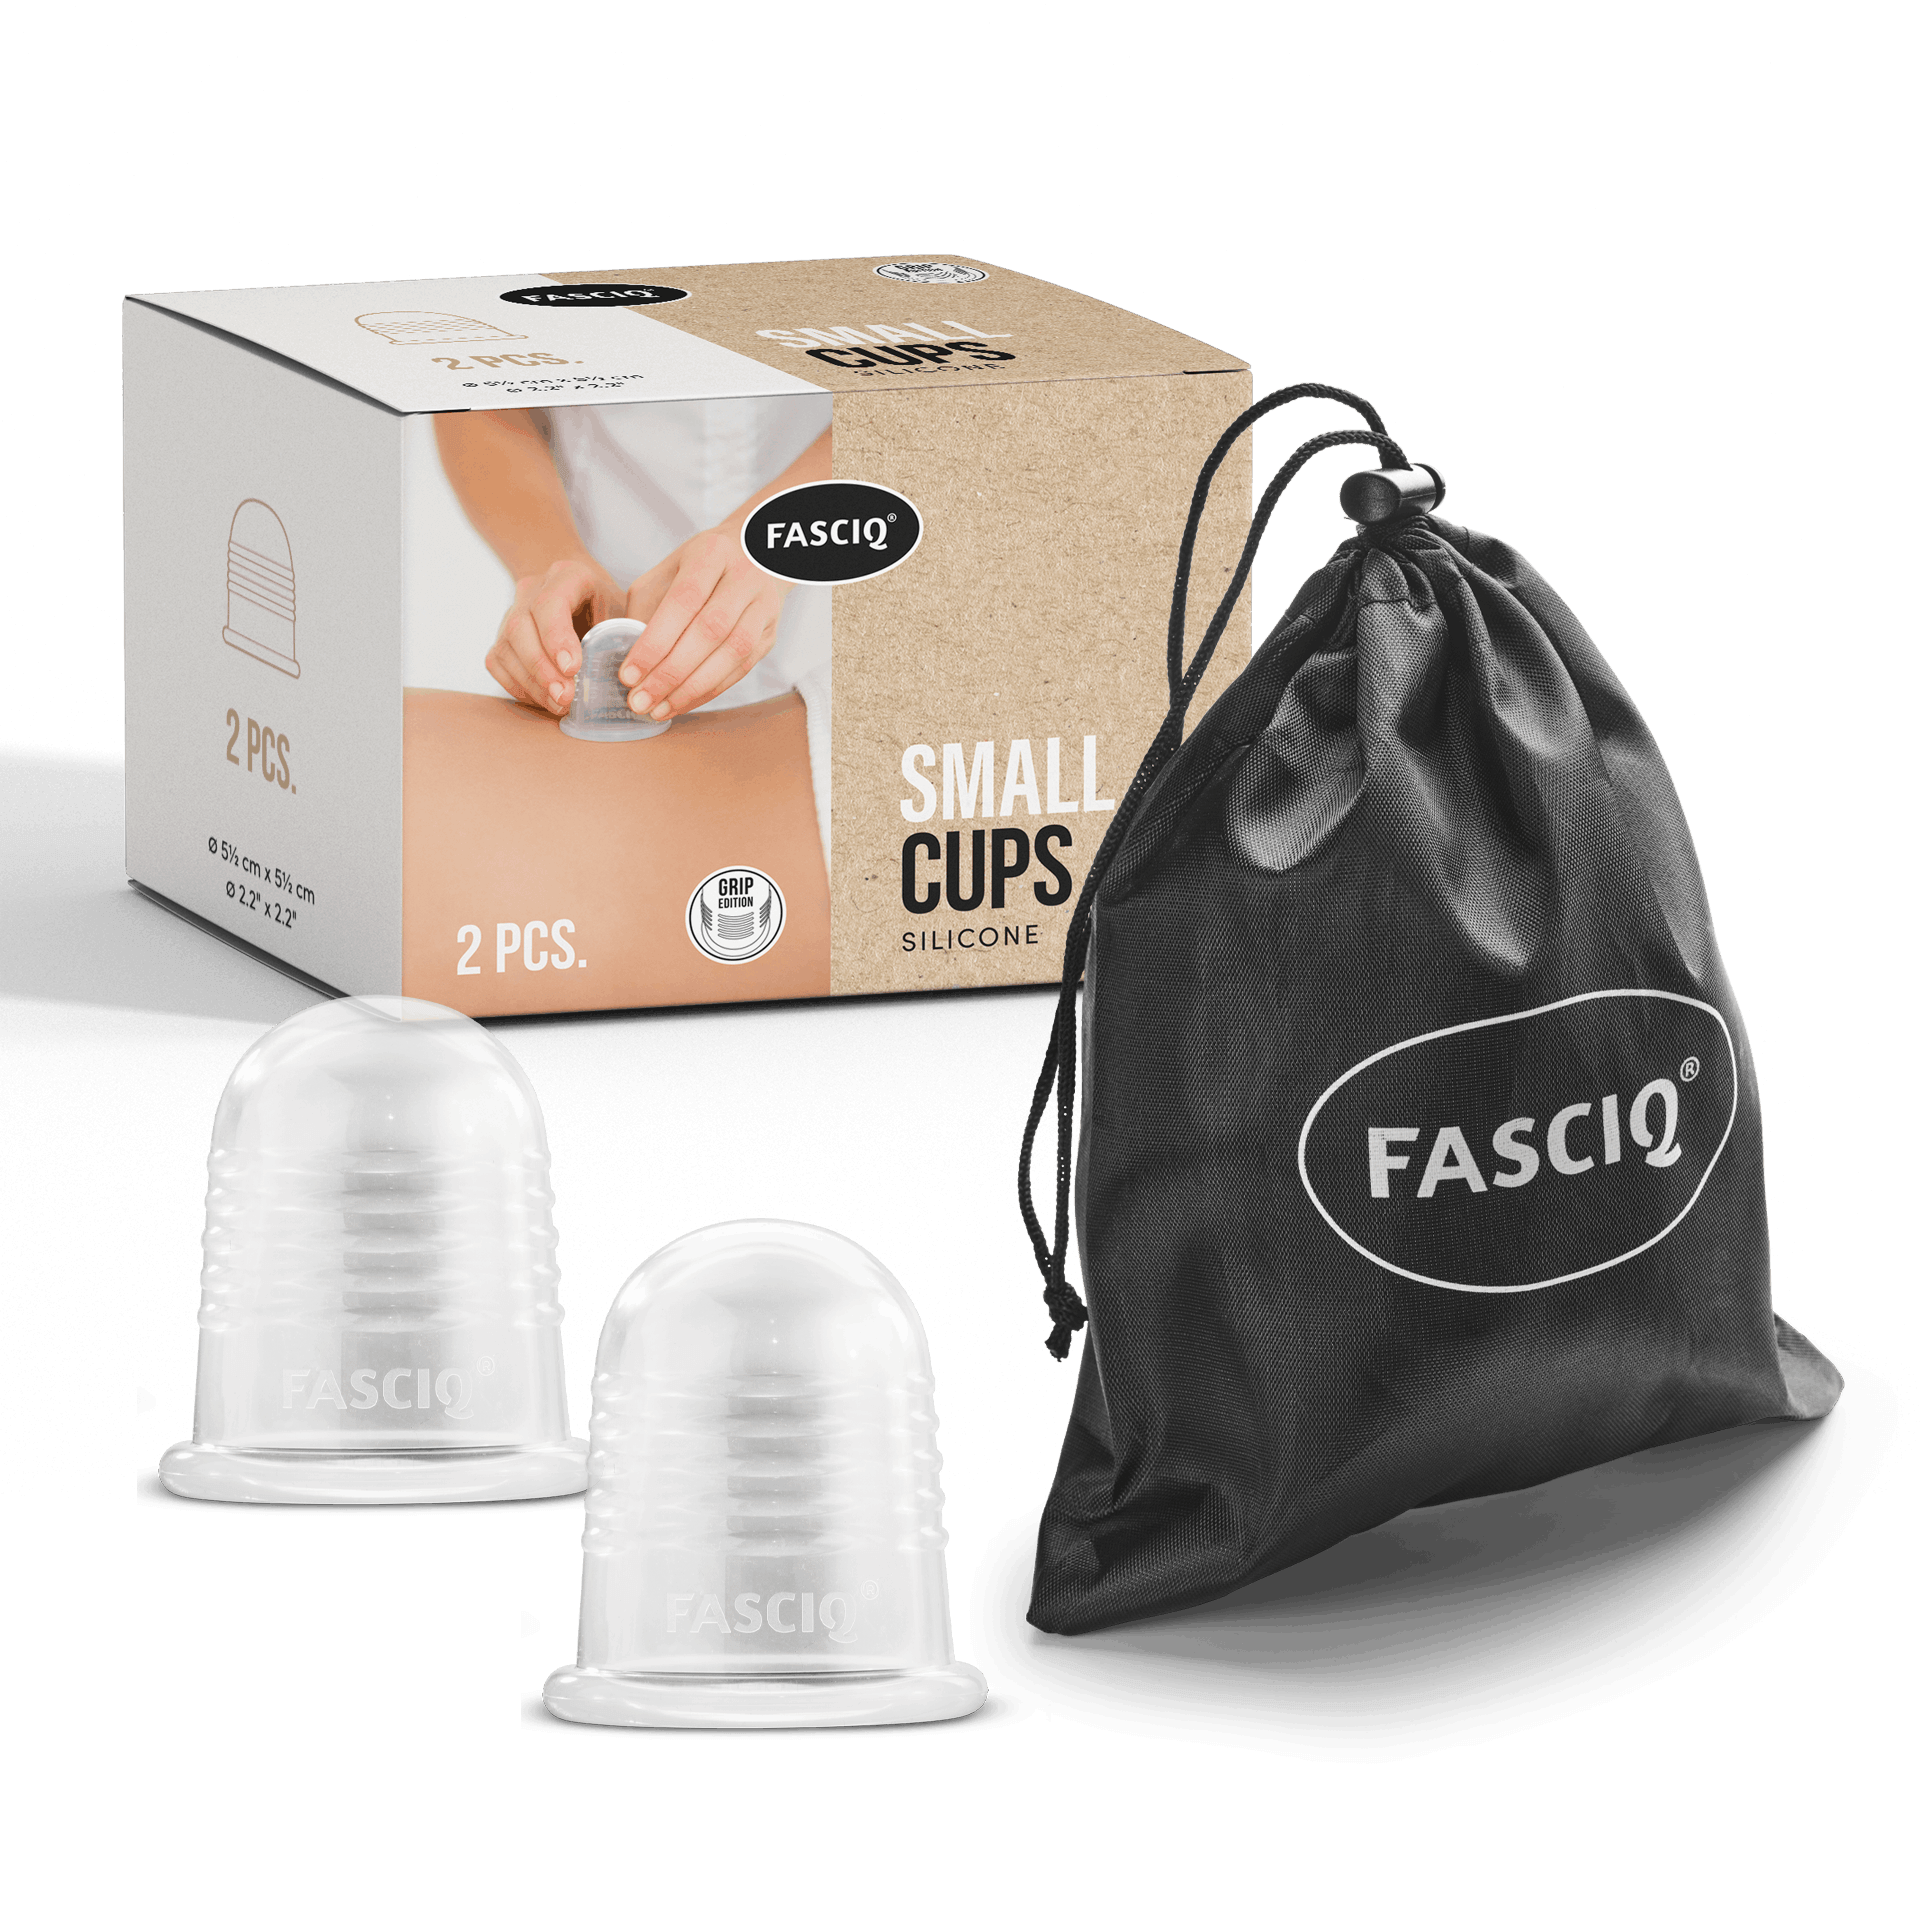
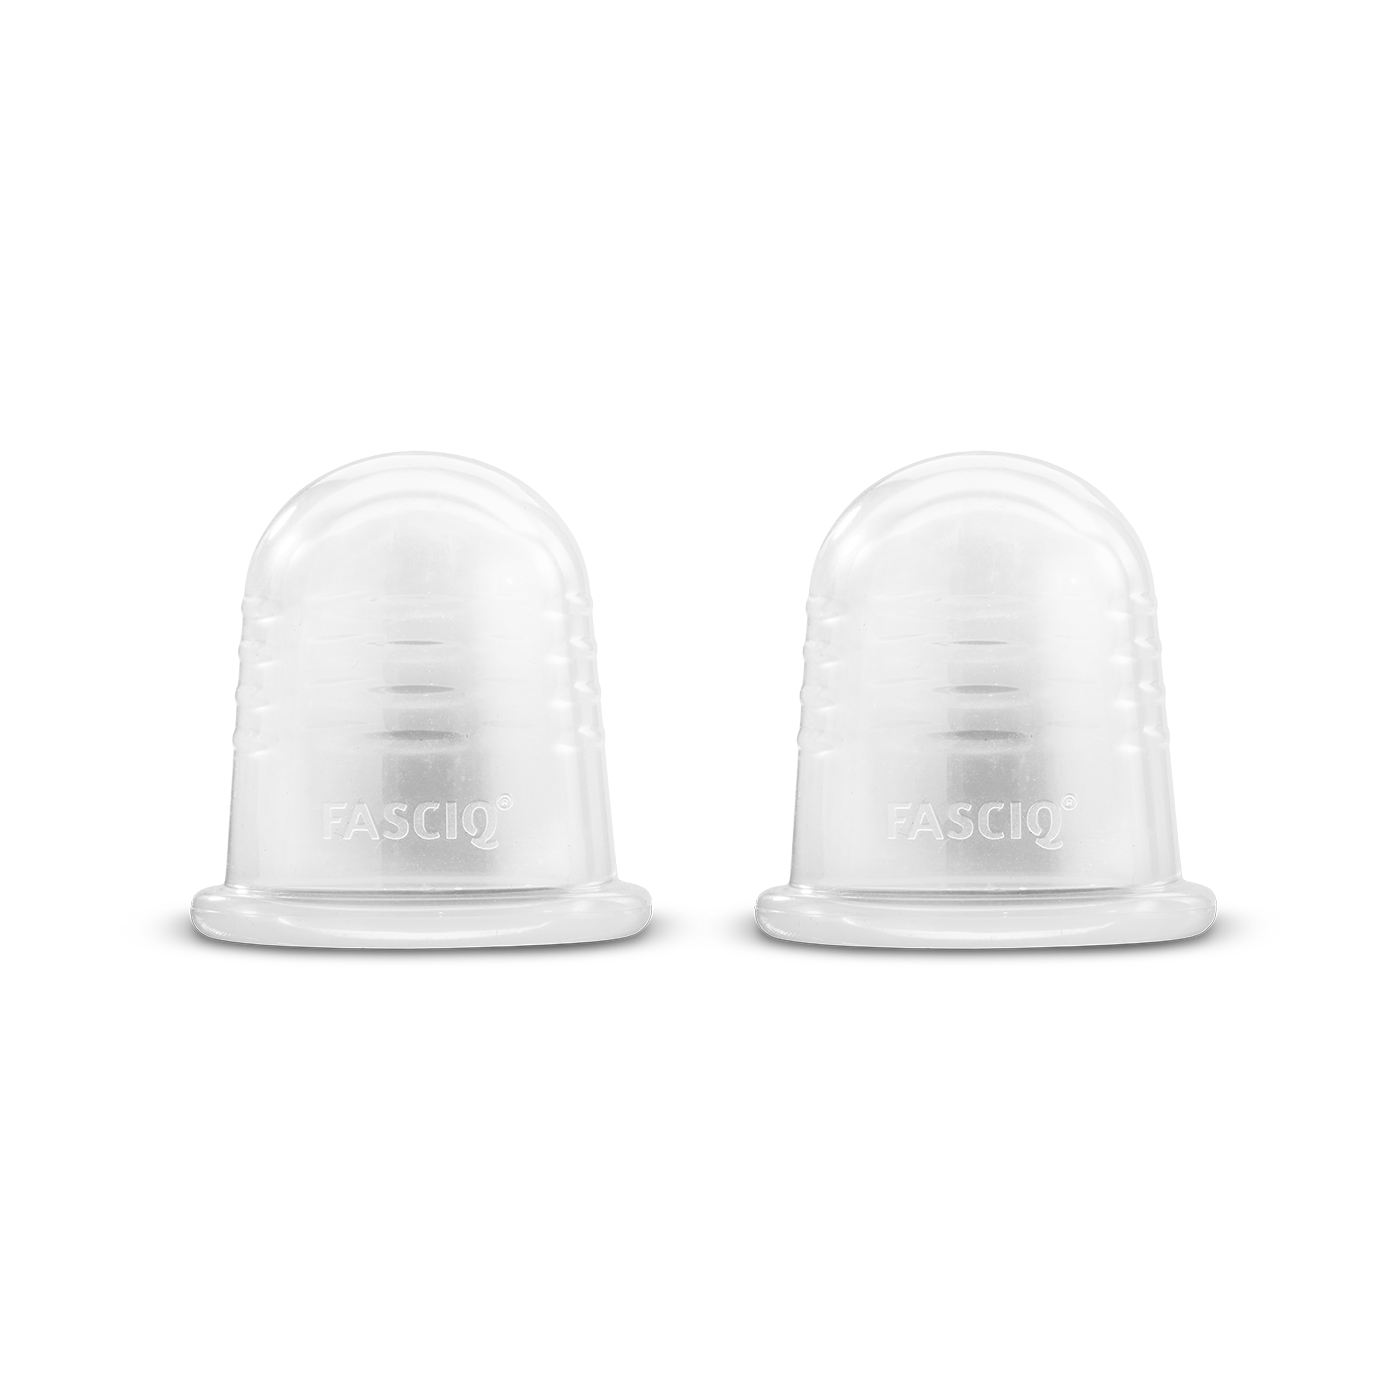
This set includes 2 identical FASCIQ® small silicone cupping cups, designed to support circulation, relieve muscle tension, and provide targeted cupping therapy for smaller body areas.
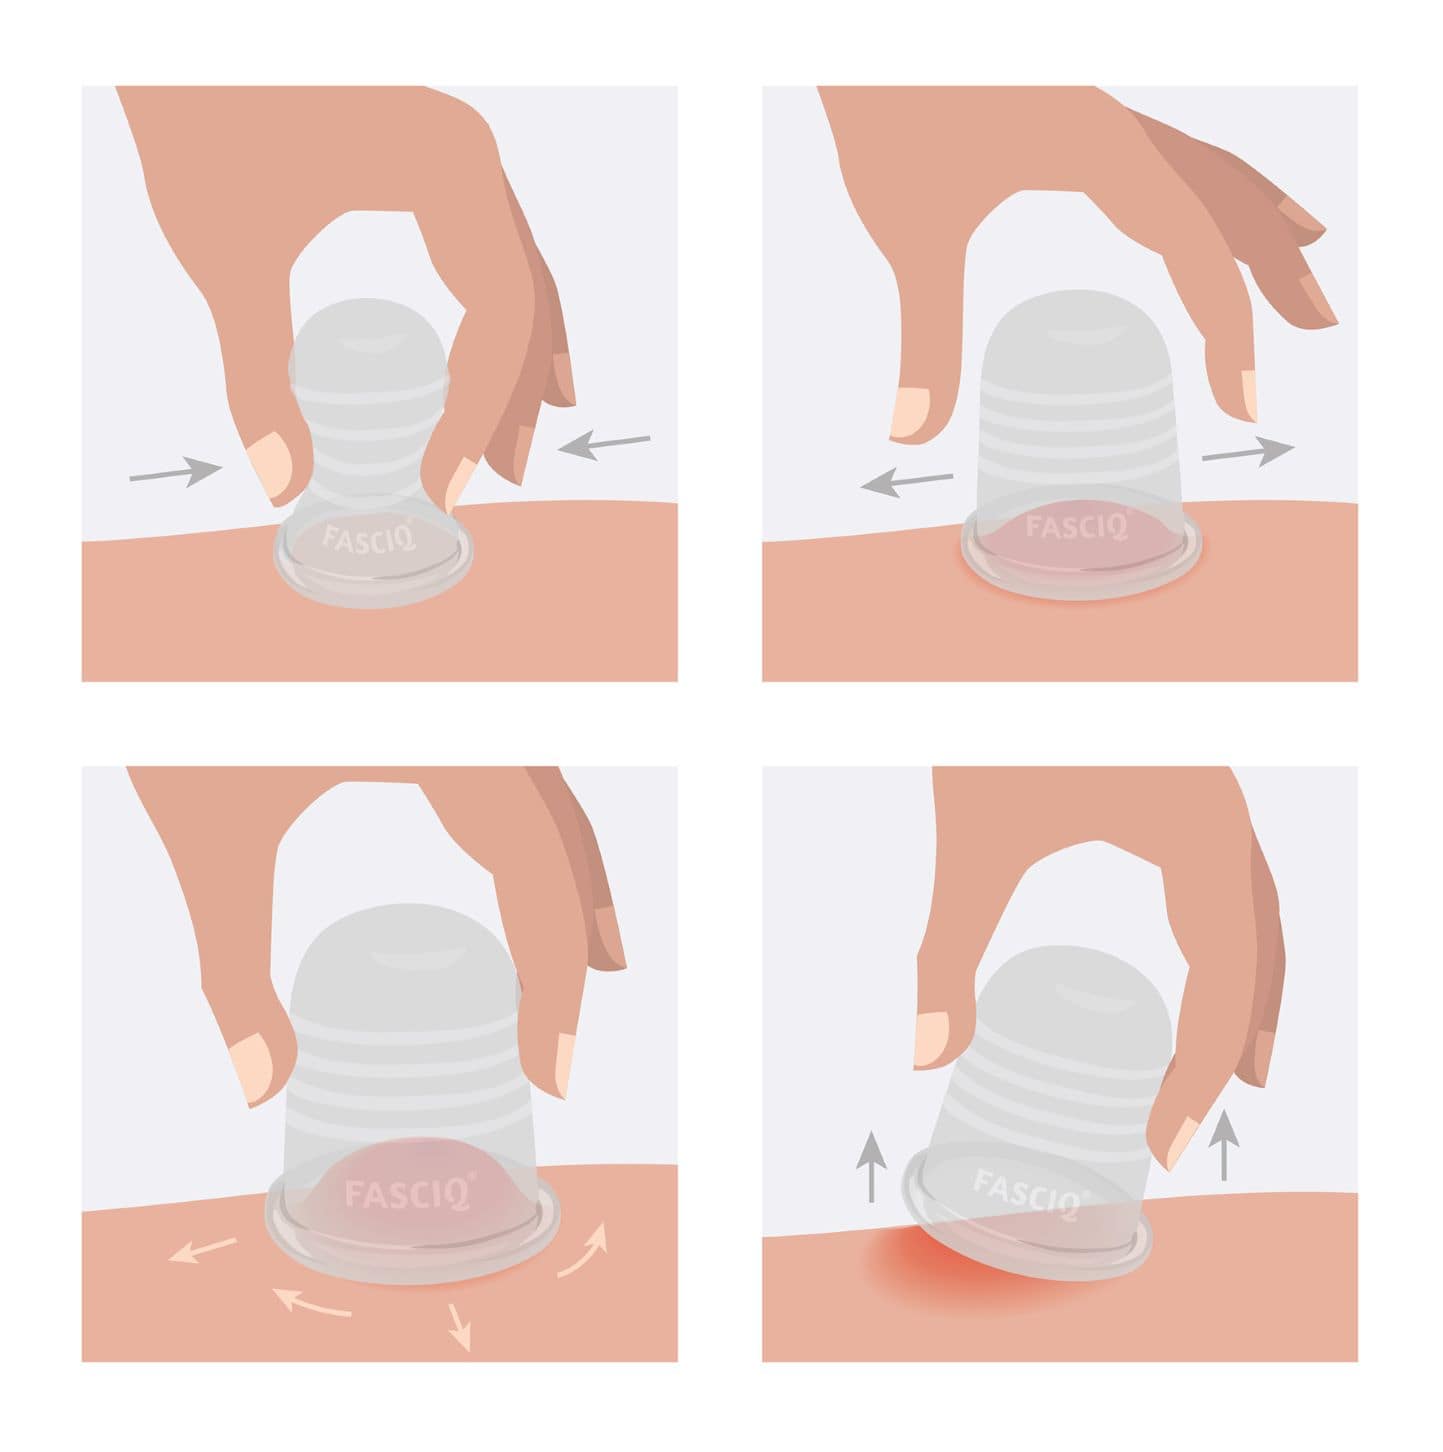
The transparent silicone cups are packed in a convenient FASCIQ® textile storage bag. Each cup measures 2.15 inches (5.5 cm) in diameter and height. The flexible, easy-to-squeeze design allows you to quickly create suction, enabling smooth and controlled movement across the skin during treatment.
Small silicone cupping cups are particularly suitable for more precise applications on areas such as:
- Hands and feet
- Upper arms
- Forearms
- Elbows
- Back of the neck
- Top of the shoulders
- Knees
- Calves and shins
Tip: Apply FASCIQ® Fascia Cream before use to help the cups glide more easily over the skin and enhance your treatment experience.
How Does Cupping Therapy Work?
Cupping creates a decompression effect in the tissues directly beneath the cup, while a mild compression force is created around the rim. This lifting of the tissue provides a unique stimulus to the muscles, fascia, and nervous system. For many users, this can be a relaxing and effective way to treat tight or sensitive areas and static trigger points. Unlike traditional “gliding” therapies such as massage or tools like IASTM tools or floss bands, cupping works by lifting rather than compressing the tissue.
How to Effectively Use Small Cups for Therapy
- Hands and feet: Place the small cup over the desired area on the hand or foot, ensuring a secure seal. Gently squeeze the cup to create suction so it adheres to the skin. Move the cup in circular or linear motions to provide targeted stimulation and improve circulation.
- Upper arms and forearms: Position the cup on the upper arm or forearm and apply light pressure to create suction. Glide the cup along the muscle groups using smooth, controlled movements. Adjust the pressure based on your comfort level and treatment goal.
- Elbows: Place the cup directly over or around the elbow joint, ensuring a snug fit. Create suction and either keep the cup stationary or gently move it around the joint to target areas of tension or discomfort.
- Back of the neck and top of the shoulders: Position the cup on the targeted area and create suction by pressing the cup onto the skin. Slowly glide the cup along the neck or shoulder muscles. Adjust suction intensity depending on sensitivity and desired treatment effect.
- Knees: Apply the cup around the knee joint, ensuring proper contact with the skin. Gently create suction and move the cup along the surrounding muscles using light to moderate pressure.
- Calves and shins: Place the cup on the calf or shin area and create a comfortable vacuum seal. Glide the cup in upward or circular motions to target tight muscles and improve circulation.
It is recommended to consult with a qualified practitioner or therapist to ensure proper technique and safe application. Always adjust suction intensity and treatment duration based on individual comfort and sensitivity.